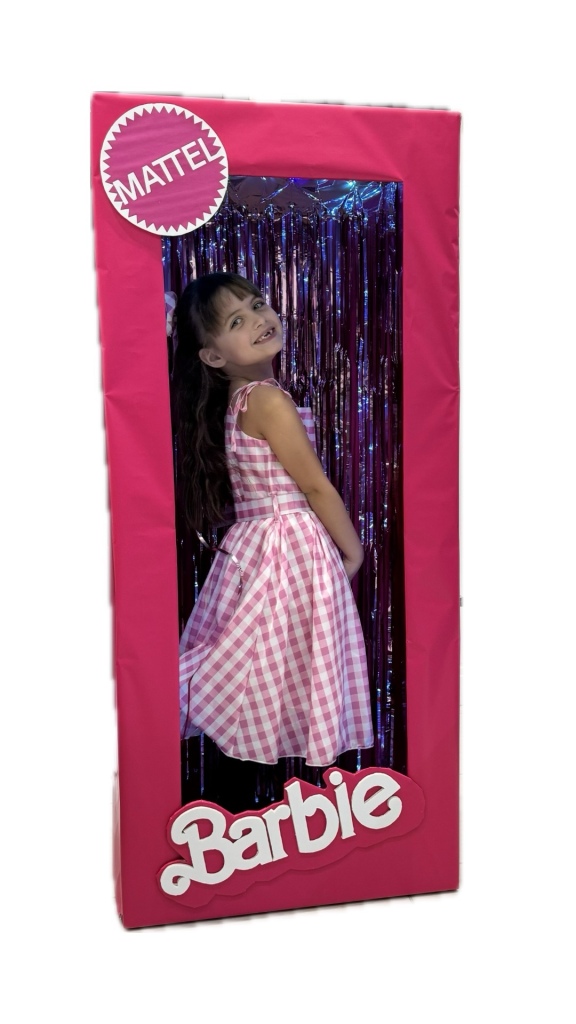
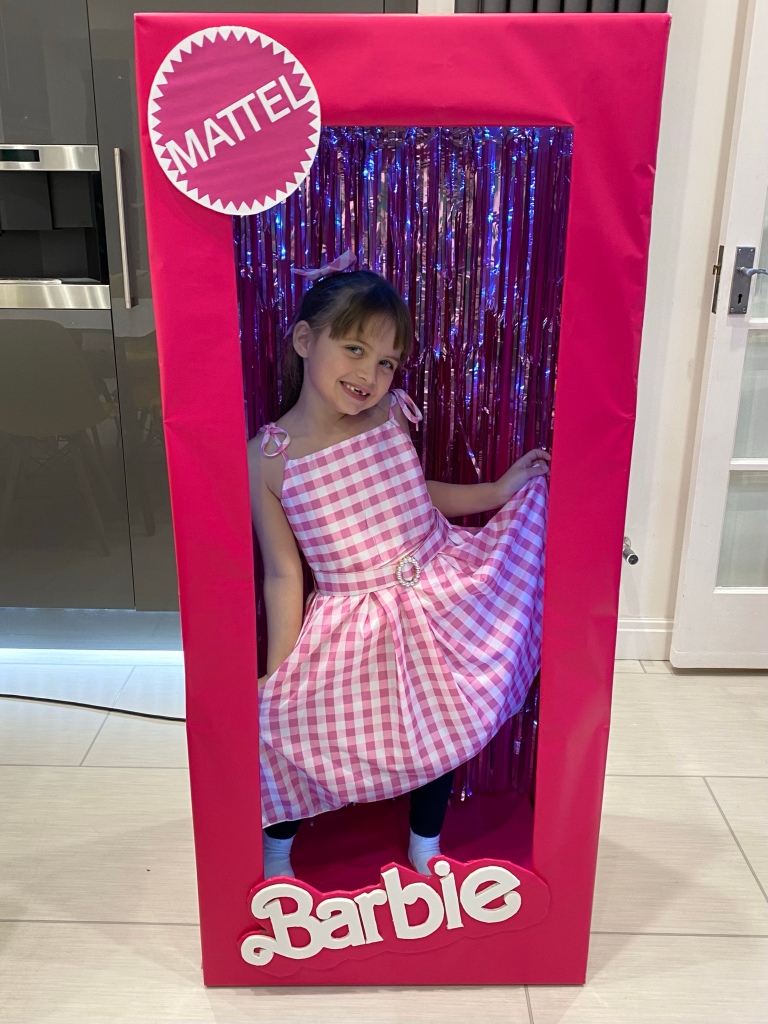
If you have a ‘Barbie Girl’ this DIY Barbie Box Photo Booth is sure to impress!
Perfect for a Barbie themed party, easy to make and much cheaper than buying or hiring.
So let’s get started…
What you will need:
- X 2 Card board boxes ( free if you can find some! ) – Ideal size for a child 610 x 457 mm / 24 x 18 inches
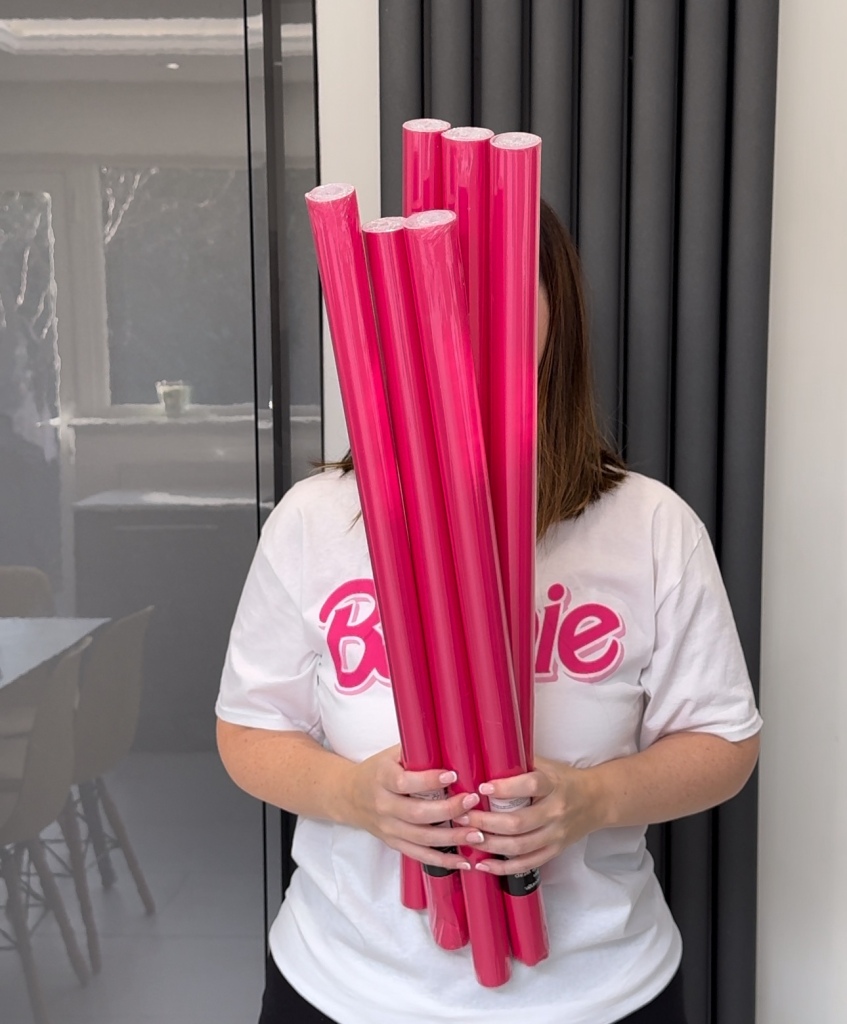
- X 5 Pink wrapping paper – we found the perfect paper for only 70p per 3m roll from Asda Bargain!
- Glue gun (we already owned, but you can pick one up for around £5)
- Printer to print off the Barbie & Mattel signs. (See further down this blog for our free printable template…)
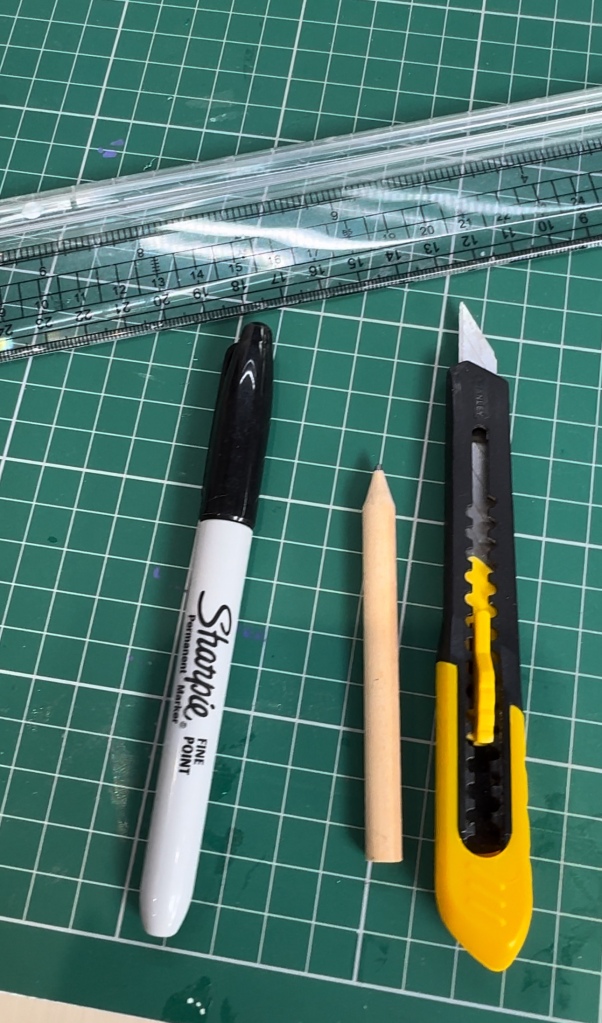
- ✏️ Pencil, ruler, cello tape, a Stanley knife and scissors ✂️
If you want to go a little extra (like ours) you could add…
- Tinsel curtains – around £5 from Amazon
- Cut the Barbie sign out of foam board – around £3.99 A1 sheet from most craft stores
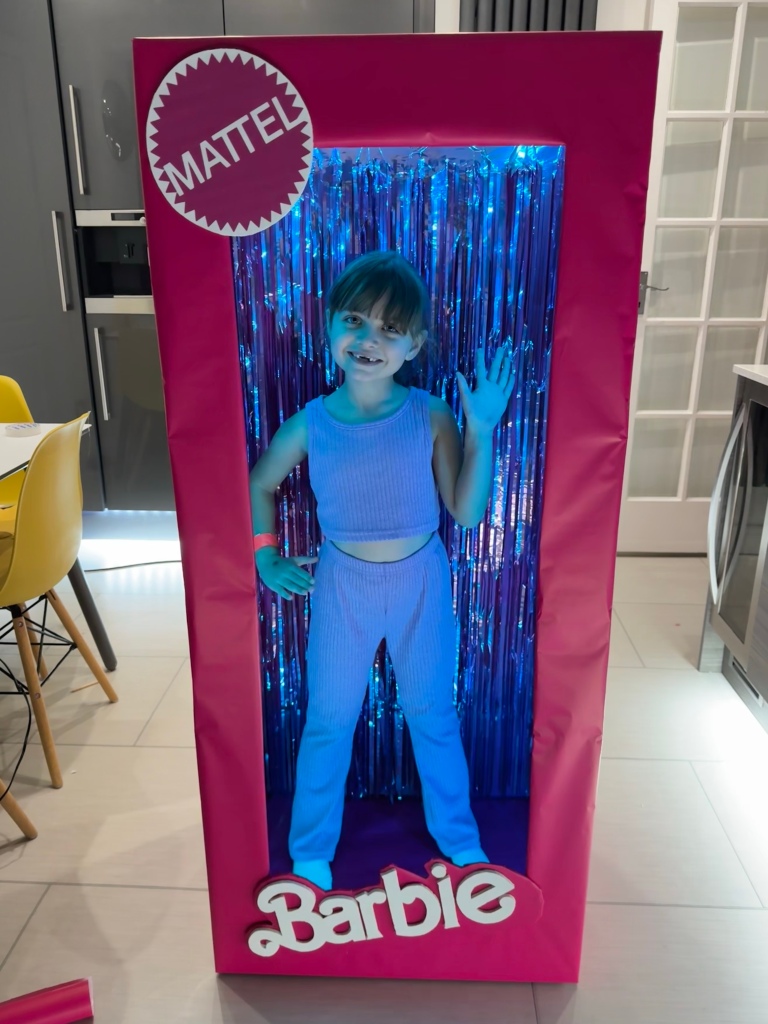
- Led lights for inside the box – around £6 from Amazon
Top Tip: Before you start, plug your glue gun into an extension lead to make it easier to reach.
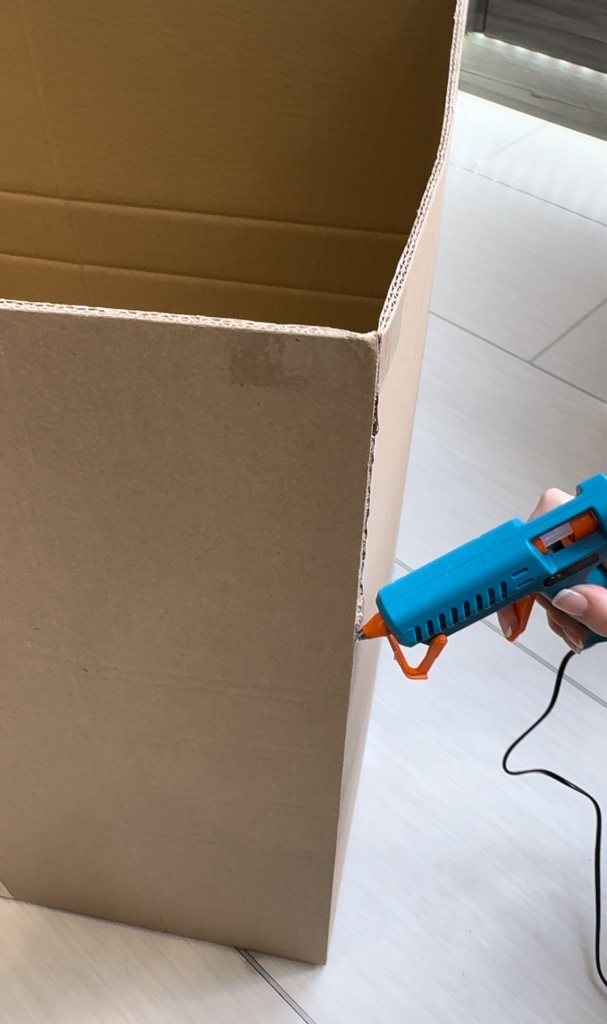
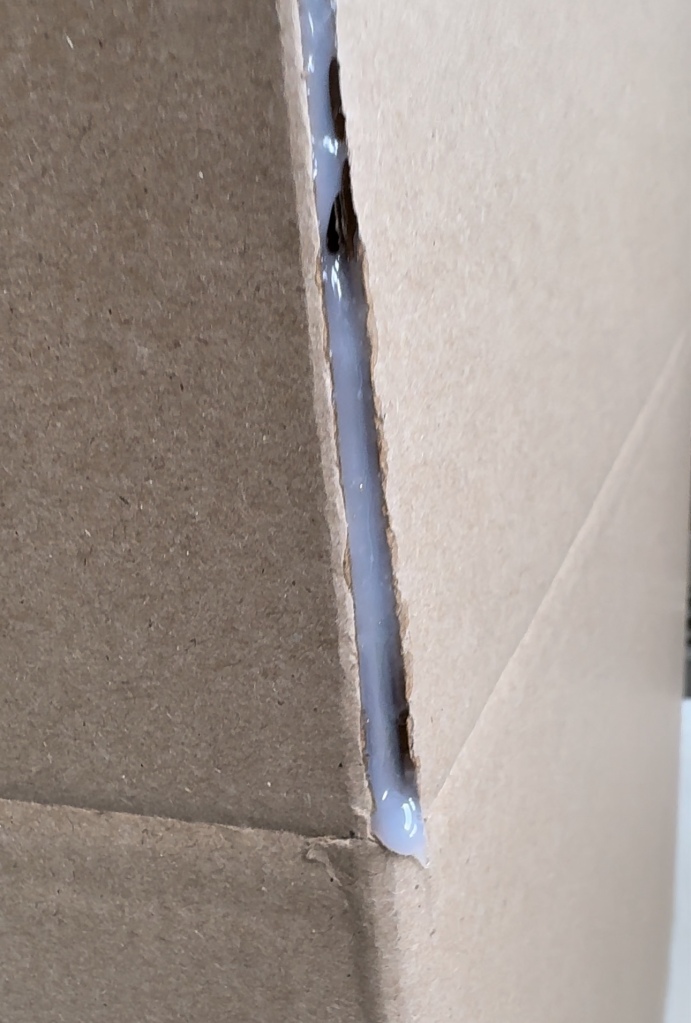
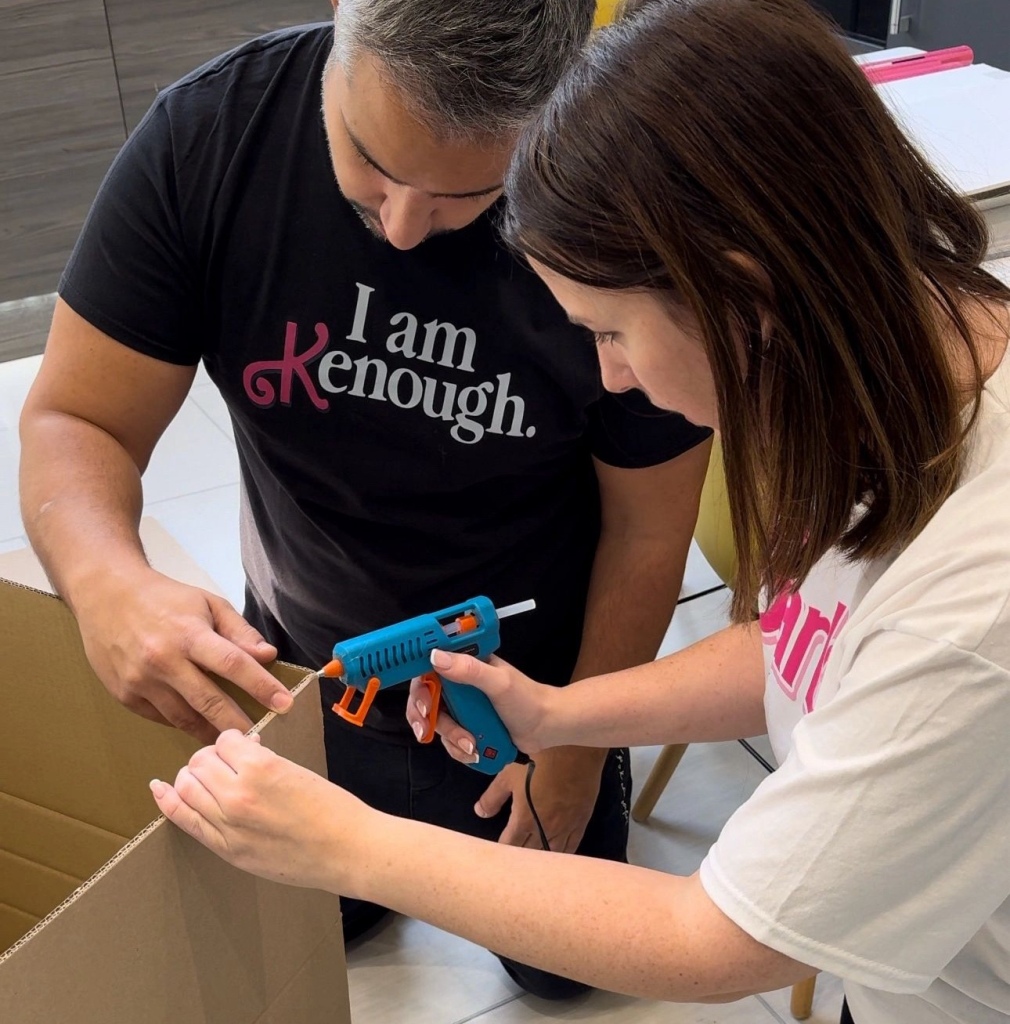
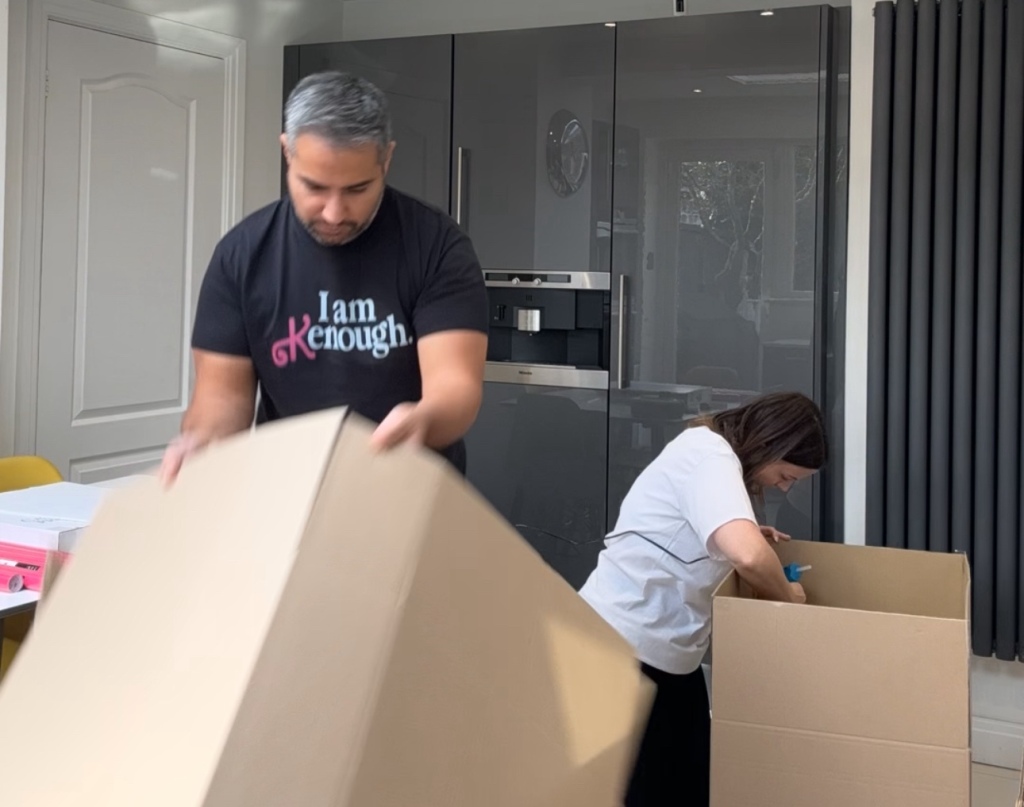
Step 1 – Prepare the cardboard boxes. Using a glue gun seal the flaps at each corner of the cardboard box upright to reinforce the boxes and make them taller. Wait for them to dry hard, which takes around 10mins.
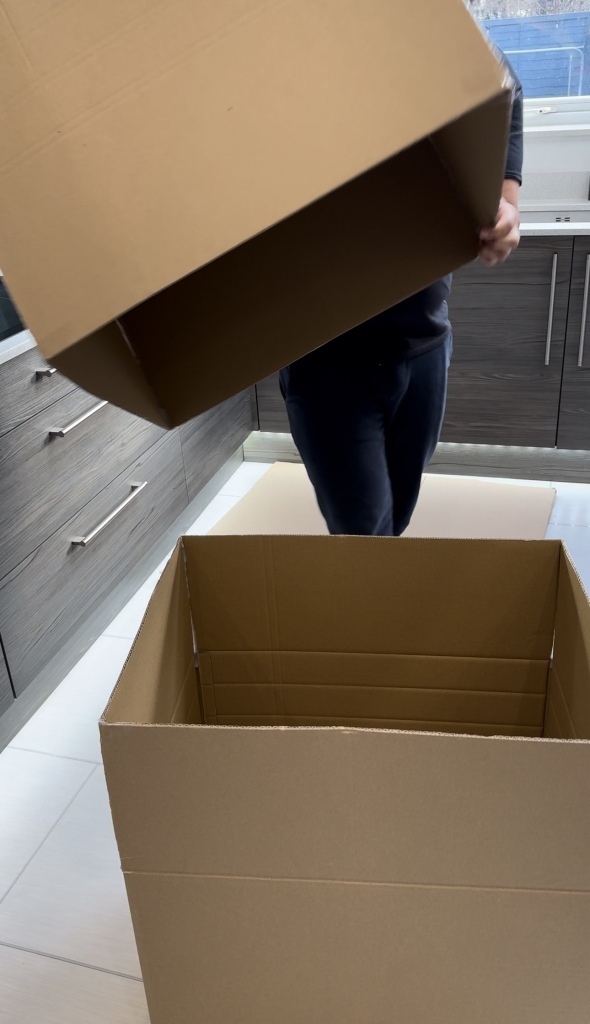
Step 2 – Place one box on top of the other and mark out your window at the front of the box with a pencil ✏️ – If you want to add LED lights make a small hole at the bottom corner of your box.
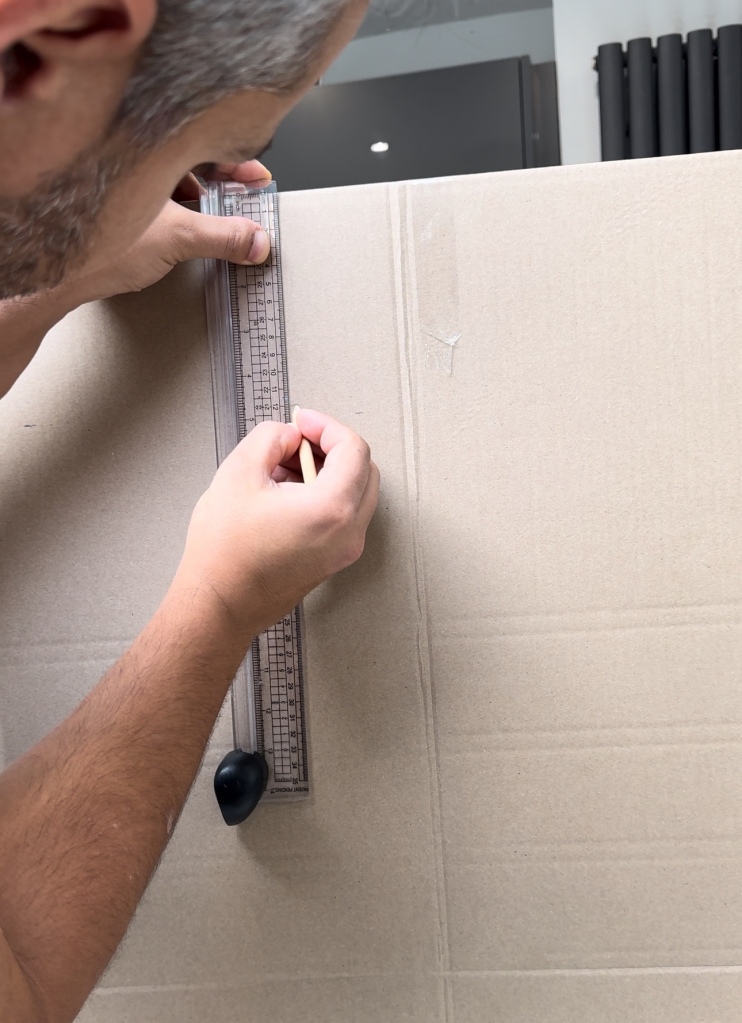
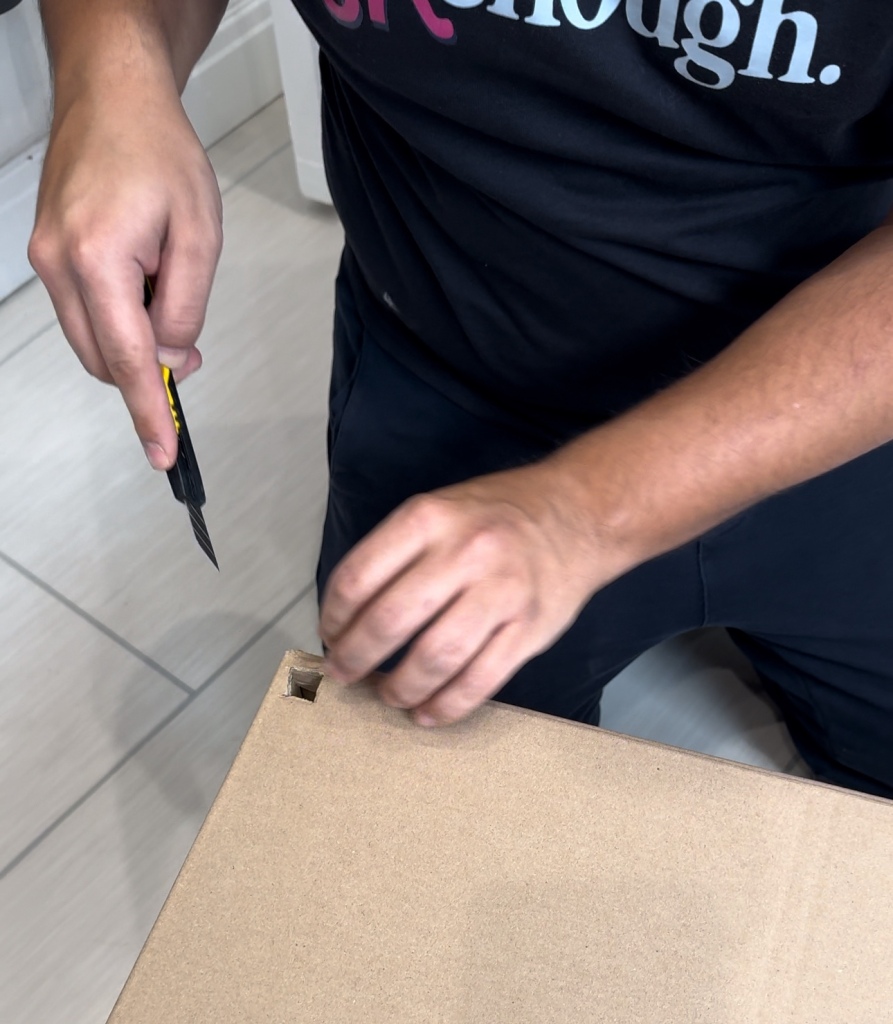
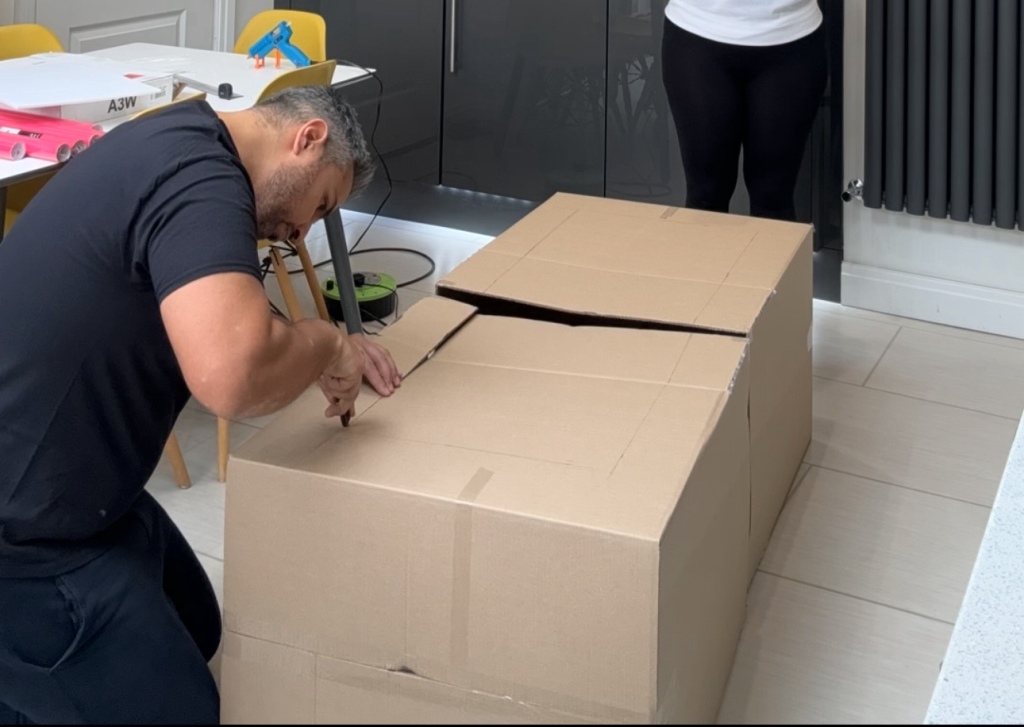
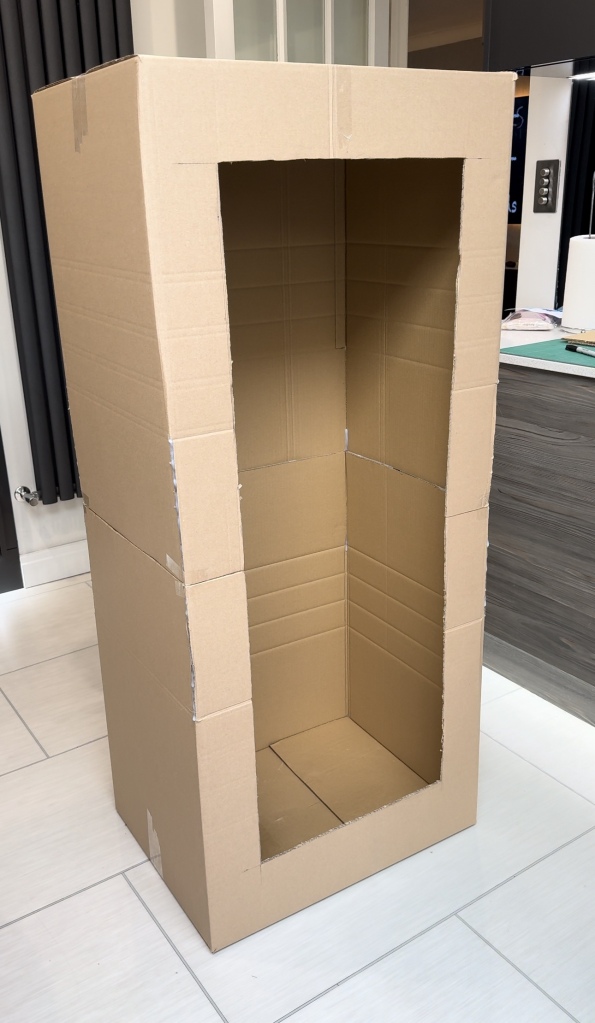
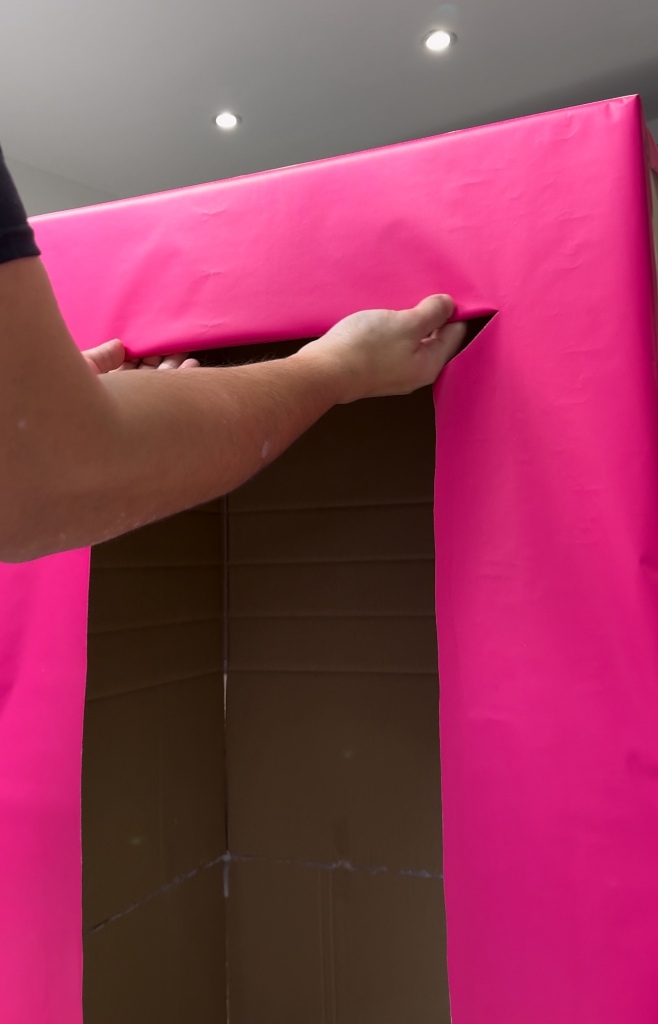
Step 3 – Before you glue the two boxes together, cut out your window at the front with a Stanley knife – it is easier to do this while the boxes are separated.
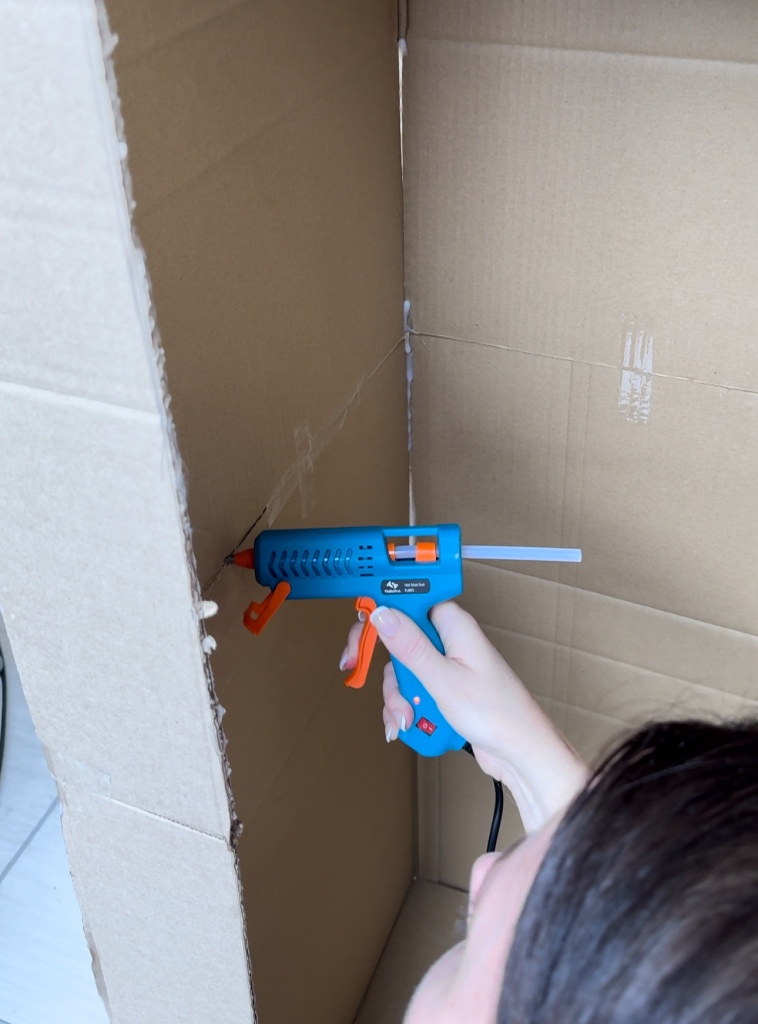
Step 4 – Once you have cut out your window, place your boxes on top of each other and cello tape the seal on the outside only. Glue gun the inside of the seal to secure and wait to dry.
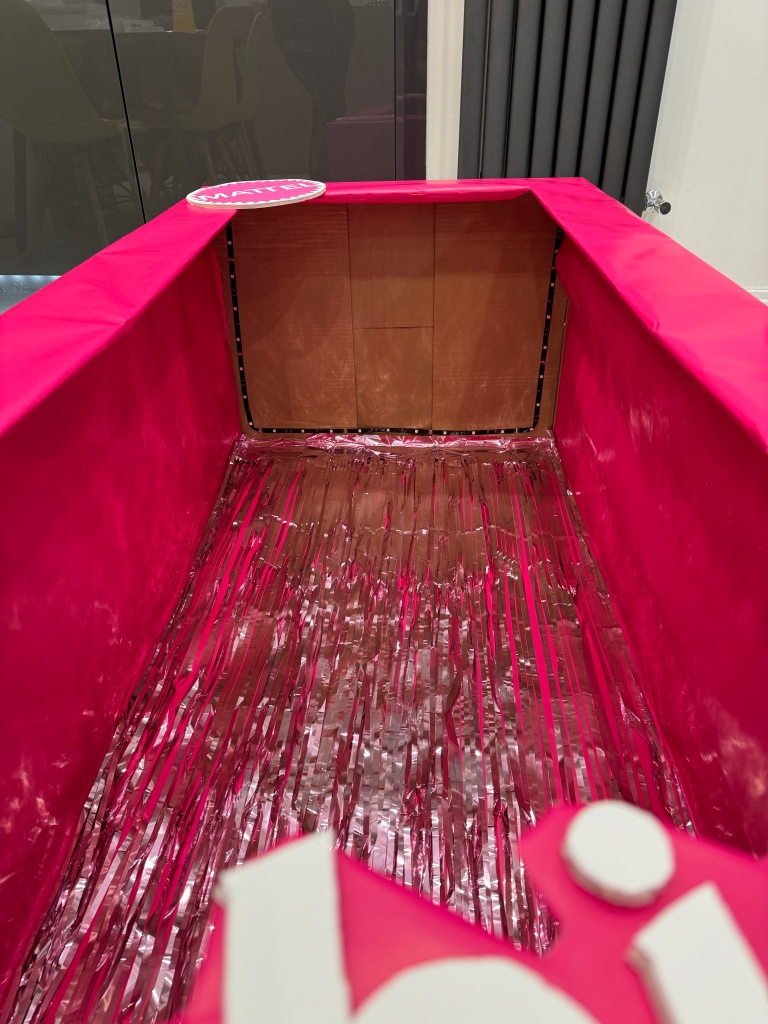
Step 5 – Wrap the boxes with pink wrapping paper and secure neatly with cello tape. It is best to cover the window completely and then make a slit in the wrapping paper along the middle of the window. Then fold the edges back inside the box to hide and secure with tape.
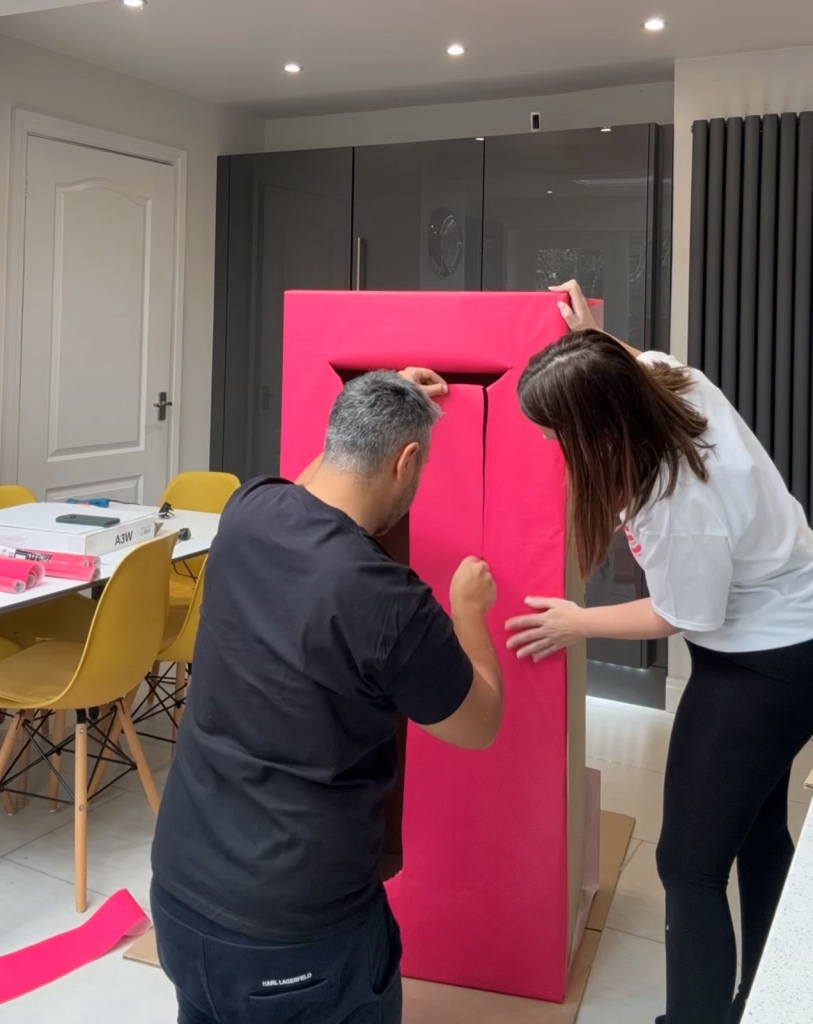
We had enough wrapping paper to cover the inside of the box too.
Don’t forget to go back to the led cable hole and make a neat hole through the paper.
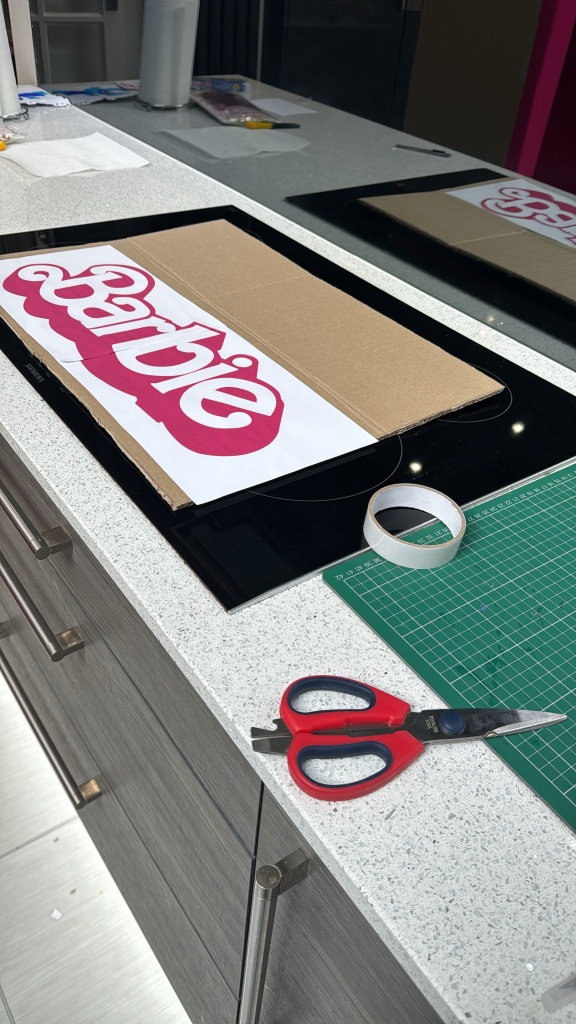
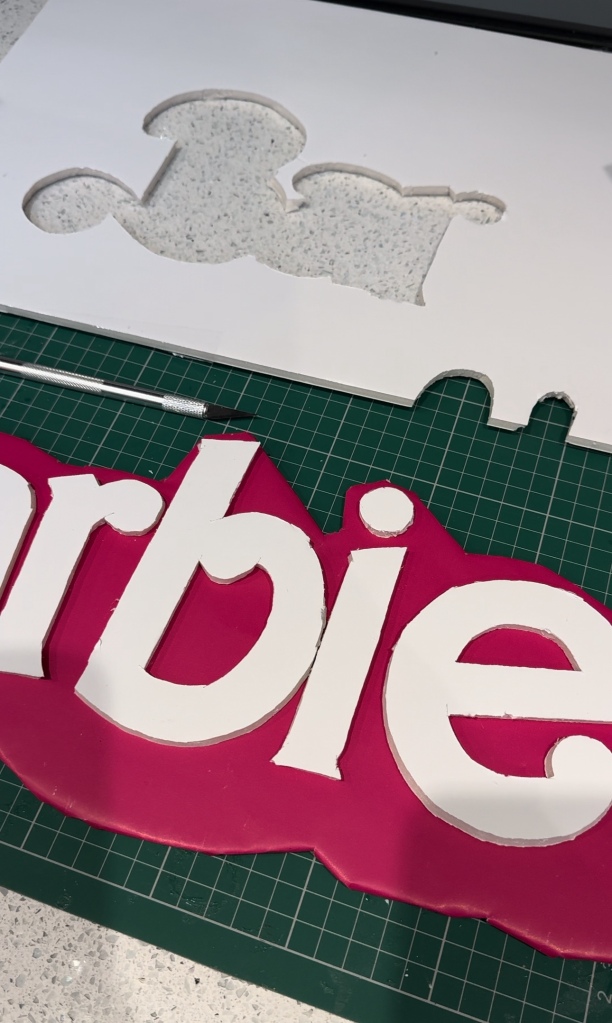
Step 6 – Print the Barbie & Mattel Signs – click on the links below for free printable templates of the signs we used…
You can stick this paper sign straight onto your box, or for extra strength and a 3D effect, use the print out as a stencil onto foam board and cut each letter out with a knife. Then attach the letters to a pink background. We used more wrapped cardboard for this.
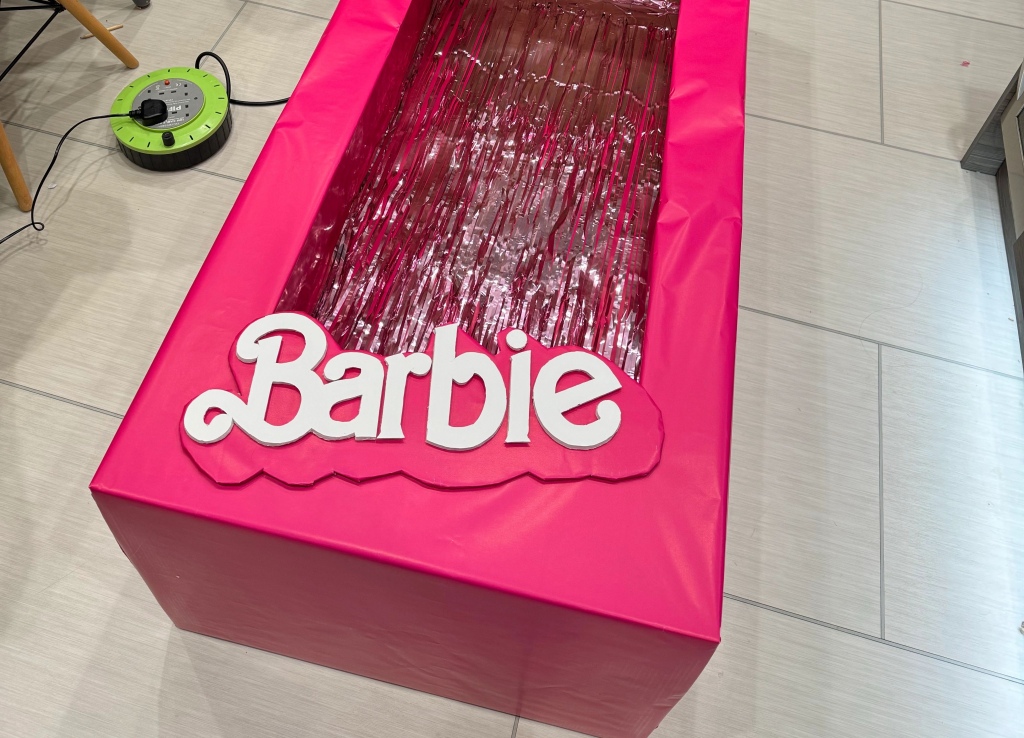
Step 7 – Use the glue gun to attach the Barbie and Mattel signs to the front of your Barbie box.
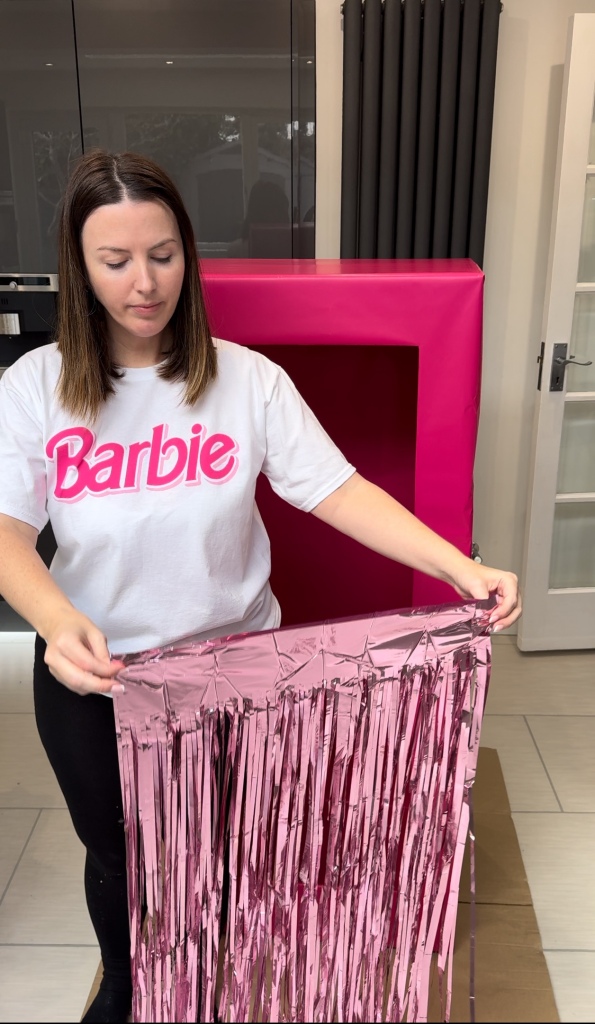
For extra glam, we added a pink tinsel curtain to the back of the box and stuck led lighting around the ceiling and the inside of the window.
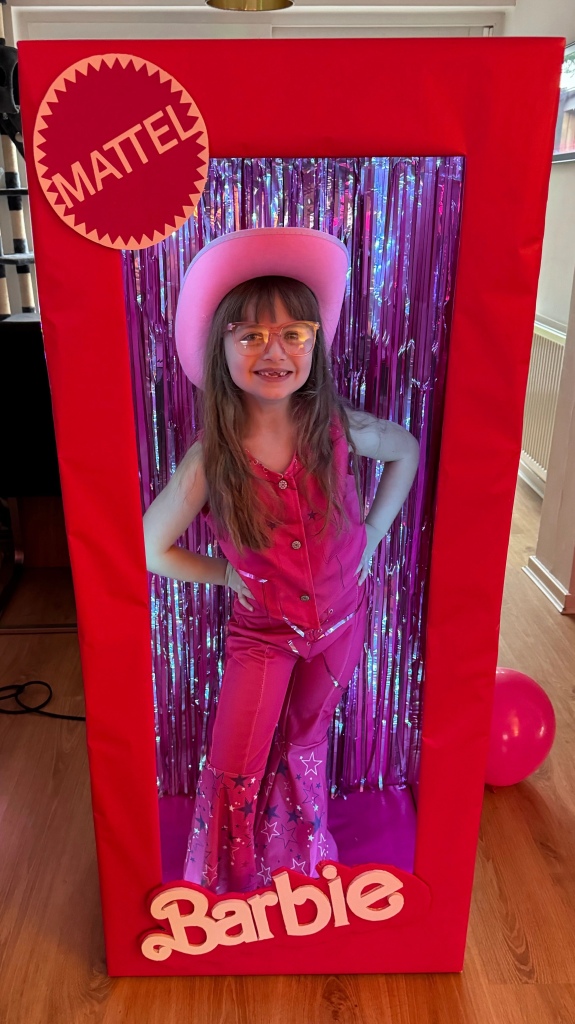
Then it is time to dress up and have fun, posing like Barbie for your party pics 📸 💕
Please share this blog with someone planning a Barbie themed party or let us know if you found this post helpful by commenting on our social channels or leaving a message on this blog post below.
We’d also love to see your creations, so please tag us in your photos & videos @Lewisfamilyblog

Fantastic 👍
Amazing Barbie Box
Thanks for Sharing
Clever Crafting 💕xxx
Sent from my iPhone
LikeLiked by 1 person